In A Plague Tale Requiem, players get to play and encounter a couple of challenges in Chapter 10 “Bloodline”. Get to know how to get through this chapter, secrets, collectibles, and more using this walkthrough and guide.
Read more about the story chapters and walkthroughs using this list.
A Plague Tale Requiem Chapter 10 Walkthrough
Looking For The Round Tower
- Descend from the mountain and walk until you reach the gate to the mountain.
- Continue moving forward until you reach the large tree. Advance and pass by the festivities.
- Follow the road near the windmills until you reach the gate at the end of the road.
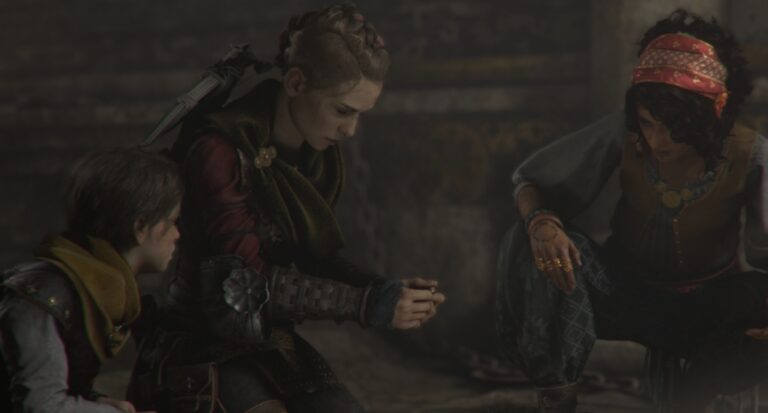
- Go up using the stairs and converse with Sophia. The door into the tower is locked so use the road to your left and enter. Climb up the ladder and use the crack to peek and snipe the lock to the door.
- Move back outside and into the newly opened door. Climb up the stairs with Sophia.
Moving To The Castle
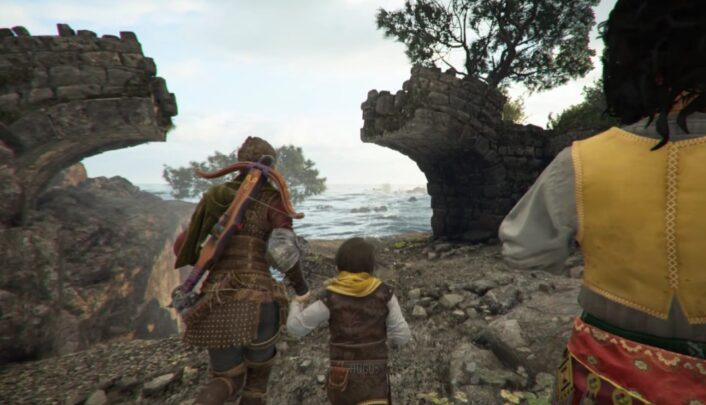
- Follow Sophia until you reach the broken bridge. Go down and stand beside the stump to get the hook rope. Aim it at the bridge’s pier, the one with the rope, and pull to make a path up. Go up with Sophia.
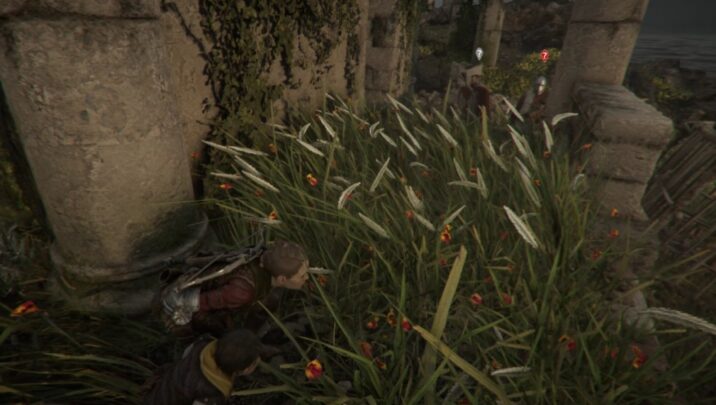
- Continue using the path down the beach. Turn right to see something bloody. Continue until you reach the high grass. Prepare for a stealth/combat section. Jump down and make barbecue with the slaver. Use the door to move back up to reunite with Hugo and Sophia.
- Navigate your way straight across the map. Use the high grass and the walls to remain hidden. You can set fire to the grass to burn nearby enemies. Advance forward until you arrive at the broken bridge. Use the path going up to your right to continue.
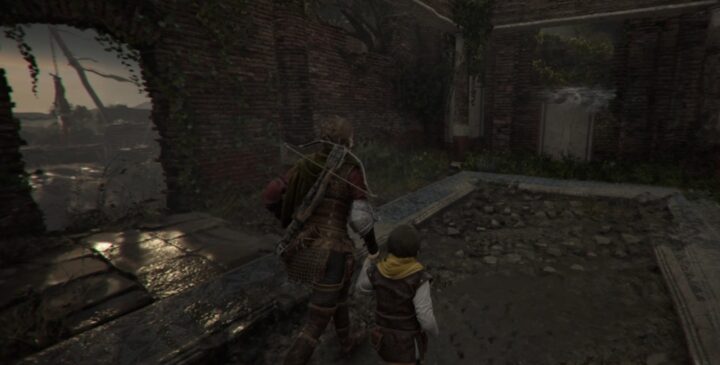
- After going up, to your left between the pillars is the exit door. However, the door is blocked. To remove the planks blocking the door, move to the upper level of the building just in front of the door. Use the hook rope to pull the door planks. Move down and use the door to progress.
- Inside the ruins, have Sophia operate the crank, navigate your way up to the upper floor. Use the hook rope to pull the chandelier and bring down the door blocking your path. Move out and take the left-most path to get a piece of Hugo’s Herbarium. After getting the feather, go back up to the road and follow it down.
Encountering The Slaver Boss
- After the cutscene with the Slavers, walk with Sophia towards Hugo. Talk to Hugo and move into the ruins. Turn left and use the hook rope to pull down the planks blocking the hole at the opposite end of the ruins. Climb up to get a souvenir.
- Go back to the original path and exit the ruins. Go down to the tall grass using the ledge to your right. This map is pretty crowded with patrols so use the tall grass and the walls to hide or pick the off one by one.
- Move forward until you reach the bridge. Go down the moat and turn left. Squeeze yourself between the rocks to end this segment.
- Follow the path up and use the cracks to get into the castle walls. Move up using the stairs and head into the castle gatehouse.
Inside The Castle
- After a brief scuffle, use the workbench and head down the stairs at the opposite side of the room.
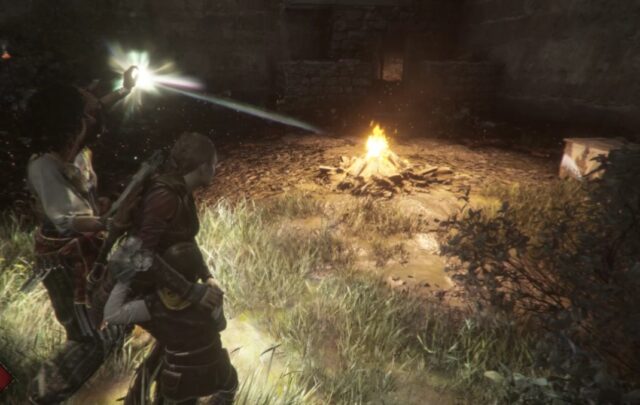
- Turn on the nearest brazier using Ignifer and wait for Sophia to arrive. Use Sophia’s prism to move forward and don’t forget to light up the next light source so you can continue forward. Use the prism until you reach the fireplace with sticks beside it.
- Use Extinguis to extinguish the fire blocking your path. Light up a stick and use it to move across the ditch. After you cross, use the stairs to move up. Observe the castle door. That’s your next objective.
- Cross to the other side by throwing Extinguis at a ditch. Be careful and use a combination of alchemy, sling/crossbow attacks, and rats to survive. Cross and head up to either the left or the right structure. Go to the floor directly above the gate and operate the mechanism to open the gate.
- Move down and use the light sources with Sophia’s prism to enter the gate.
A Plague Tale Requiem Chapter 10 Into The Chapel
- Head towards the chapel door and enter. Use the stairs to your left to go down into the dungeon. Enter the cell and interact with the altar.
- Go back up using the path that you took. Interact with the door.
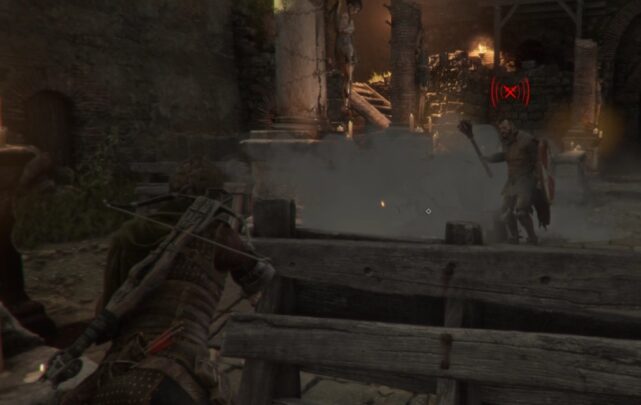
- Use your sling and crossbow to defend against the enemy waves. Occasionally duck to evade ranged attacks. Use the flour bags to stun enemies with shields to leave them vulnerable to sling attacks. For grenadiers, hit their grenades with your sling for a spectacular explosion.
- Survive until four melee slavers arrive to end the chapter.
A Plague Tale Requiem Chapter 10 Tips
Stealth Is Recommended
This chapter has a lot of encounters that are filled with enemy patrols. Although you can take them on, it can be quite hard due to their numbers. You can thin them down with the items scattered around the map or use diversions so you can get across. It is also recommended that you conserve resources for the final fight in this chapter.
Use Sophia’s Prism To Get Across
Sophia’s Prism is first introduced in this chapter. It allows you to use distant light sources to make your own. Make sure to utilize it to get to places that are far from light sources. Also, it is best you get used to this as you’ll be using it a lot in the next chapters.
Use Flour To Combat Shielded Enemies
You can use the flour to defeat the enemies with shields during the last part of this chapter. The flour bags can stun them for a few seconds, forcing them to lower their shields and allowing you to hit them with a sling. Be wary of these guys as they can be incredibly dangerous if you are not aware of your surroundings.
A Plague Tale Requiem Chapter 10 Collectibles
1 Hugo’s Herbarium
Raven
After using the chandelier to break down the door, use the left-most path and follow it until you reach the sea. Move to the side of the bridge to get the feather.
1 Souvenir
A rag doll
This souvenir can be found just after you first encounter the slavers. Instead of going straight outside through the ruins, use the hook rope located at the left end to open a hole on the right wall. Climb up the hall and walk left to the mangled tree get this souvenir.
Read more about the story chapters and walkthroughs using this list.
For the previous Chapter walkthrough, read the guide for Chapter 9. For the next one, read the walkthrough for Chapter 11.